Behind this site
21 Sep 2022 06:50AM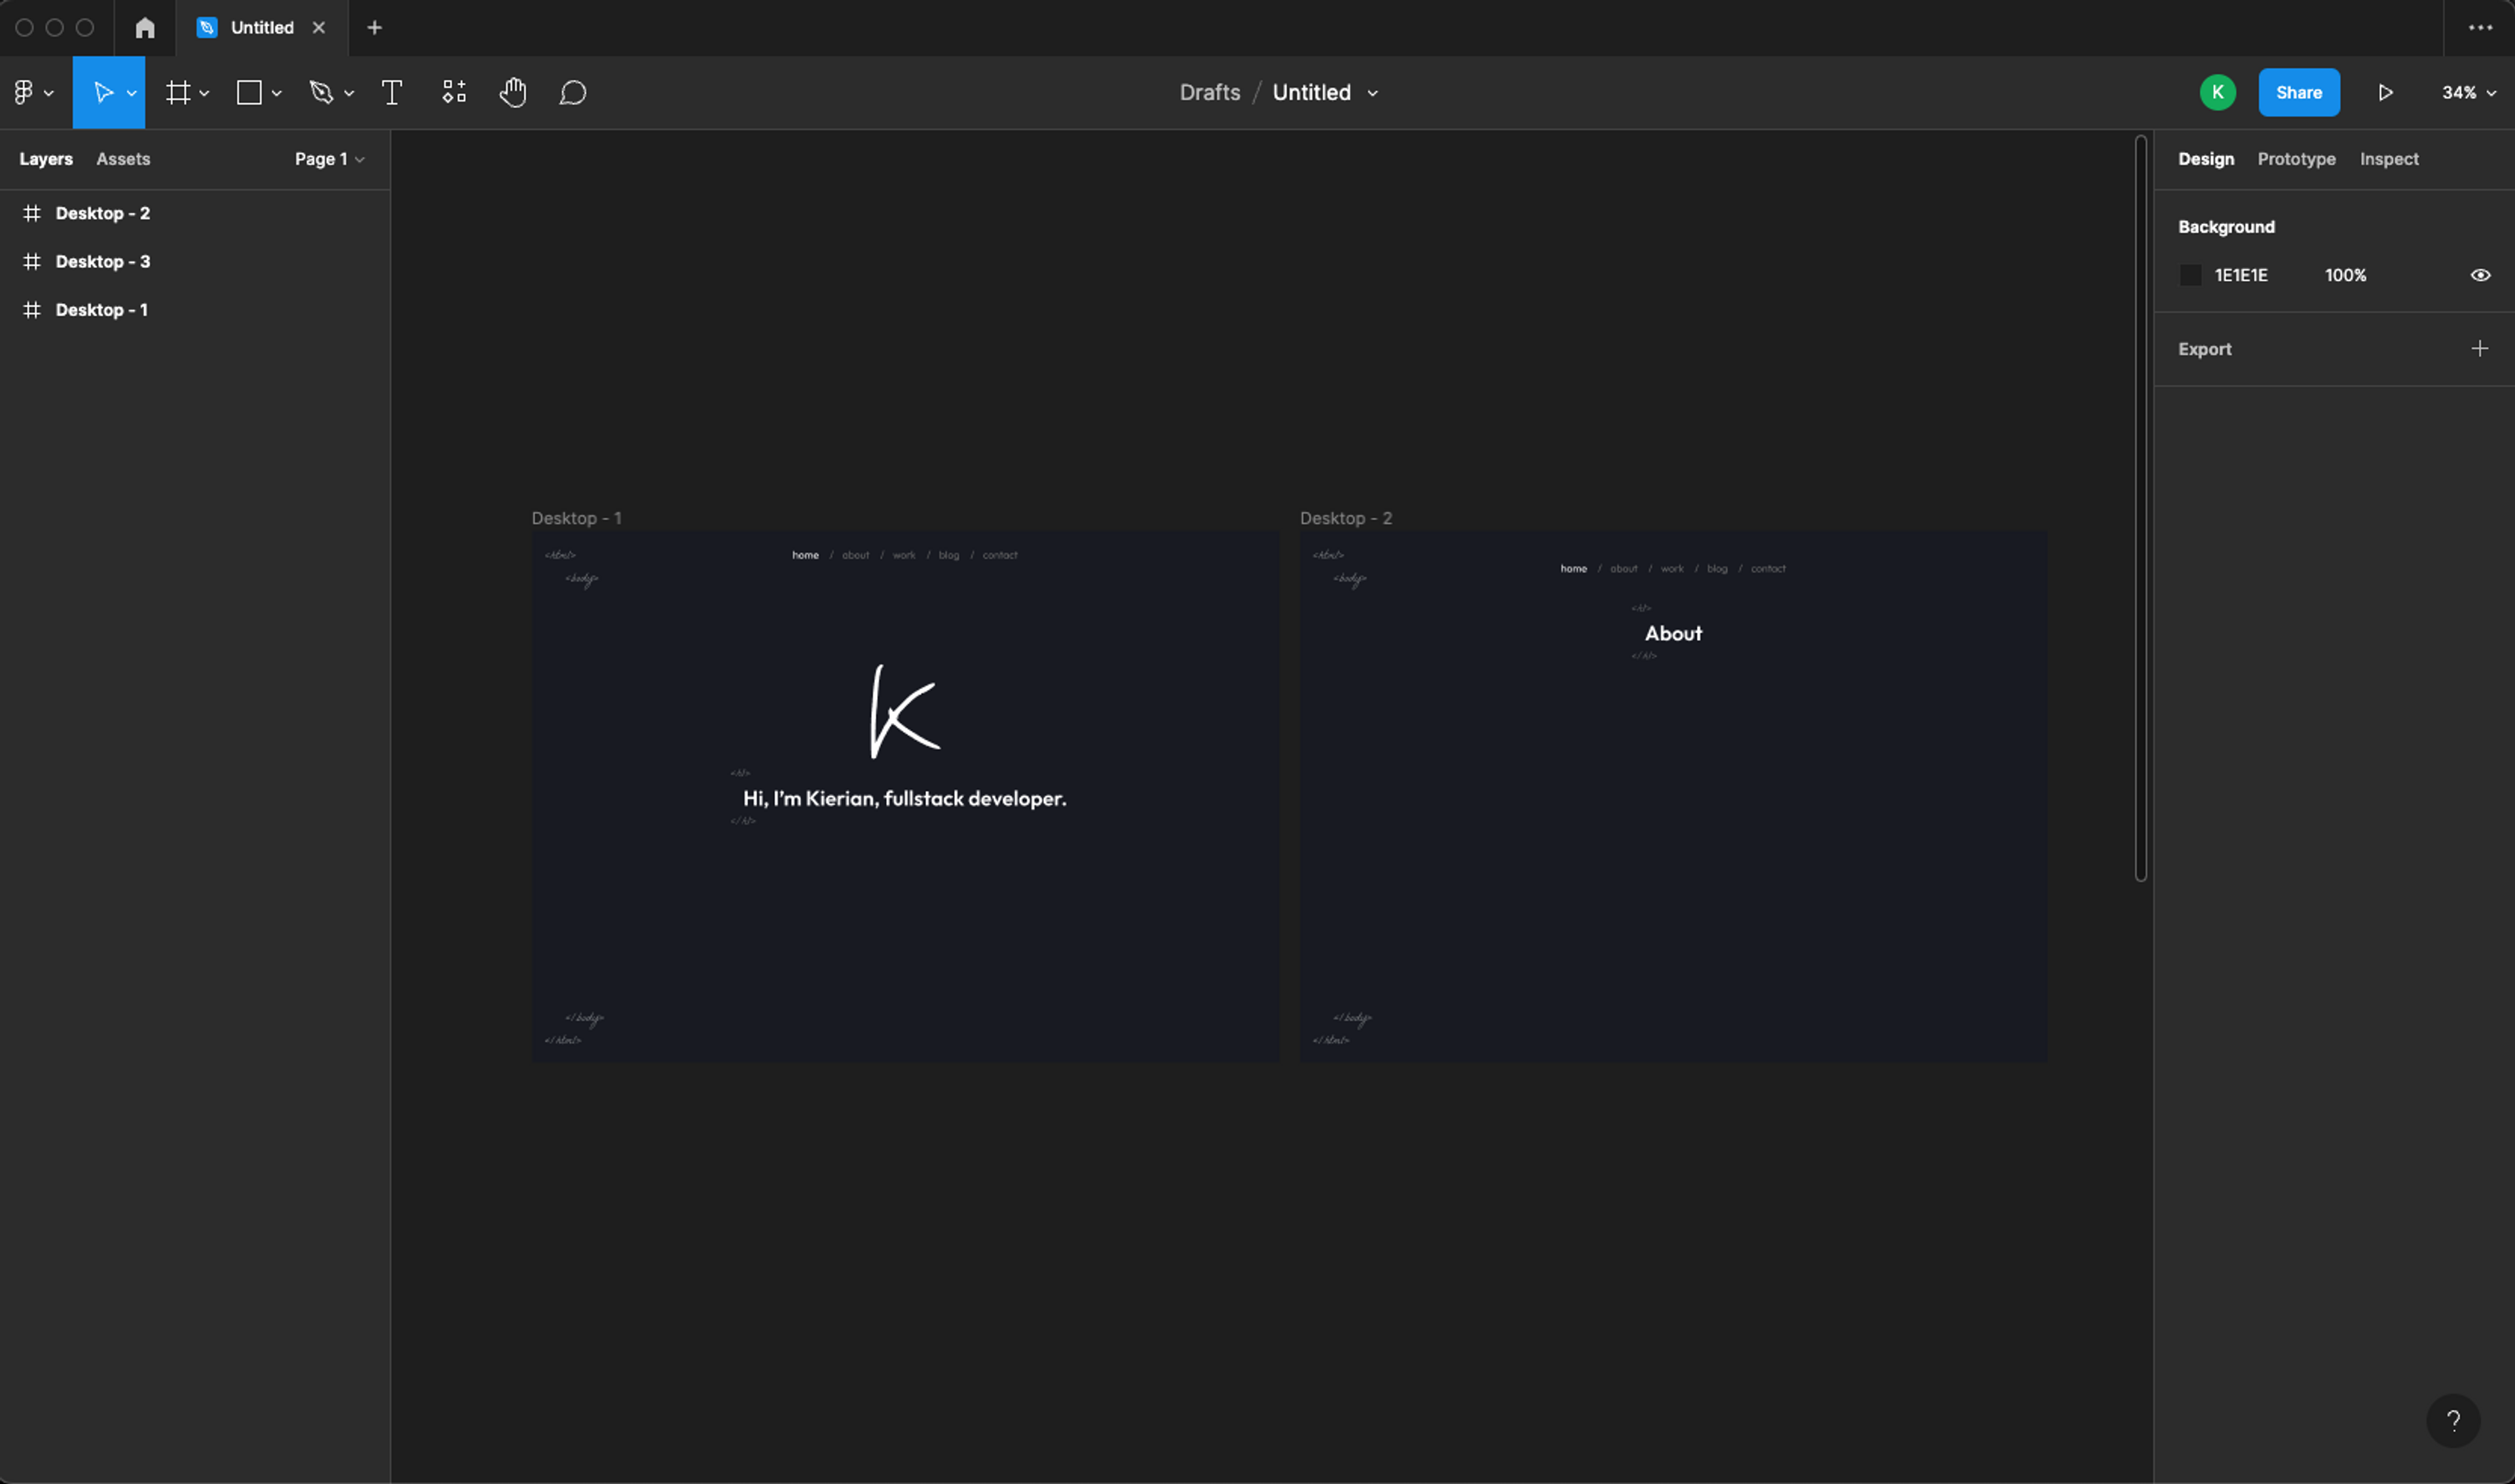
Building your own portfolio is like painting a self portrait. Exciting because it's a canvas for you to portray yourself with freedom, intimidating because can you really ever paint a picture you're happy with? At the very least, I wanted to build something that I could identify with.
The criteria that I had for the site was as follows:
- It had to leave an impression (preferably a positive one 😅)
- It should convey the information I want it to effectively
- Site performance at an optimum
- Content management should be easy
Leaving an impression
The idea was to design/build something that was not necessarily unconventional but striking. Not unconventional as to not make the visitor feel like they have to learn how to use the site, but striking as to try our best to keep the visitor interested.
Animations are a great way to keep one visually engaged. An idea I had was to have a short but cool welcome animation, and have the title text animated as well. Mentally I started to envision this as a movie title screen, and began penning the layout down on Figma. After drafting things out on Figma, I had an epiphany - that I didn't have to introduce new on-screen resources just for animation purposes, as I could just use what was already on the screen. Some experimentation & trial and error later, this was what I ended up with:

I managed the animation with the help of an animation library I've been using for awhile called framer-motion which brands itself as a "production-ready motion library for React". The API that the library exposes really simplifies the process of animating things and helps you think of animating in a more pragmatic way.
The opening animation on the K letter was achieved by animating the stroke's path on the SVG.
12345678910111213141516<motion.pathstrokeLinecap="round"stroke="url(#stroke)"// Have the path set to 0 on mountinitial={{pathLength: 0,}}// Begin animating the path length to 1animate={{pathLength: 1,transition: {duration: theme.dirty ? 0 : 1.5,ease: "easeInOut",},}}/>
Effectively communicating
What information did I want to get across? Everything! Could I do that without giving the visitor information overload or boring them? Probably not.
To me, there are two types of communication simultaneously happening:
- Written communication
- Visual communication
For written communication or text-based communication, the goal was to present the information in short but concise ways to not overwhelm the visitor. With visual communication, the site needed to be aesthetically pleasing while maintaining the context of a developer's portfolio. Almost like a showcase within itself. And so, to fit the theme of a developer's portfolio, I decided to incorporate little nuances around the site that relate to code like the visual html tags & mono fonts.
Blazing fast performance
It's no secret that sites that load faster have higher engagement and retention rates. Advancements within the JS framework ecosystem today make it possible to achieve a dynamic yet performant site. Next.js' Static Site Generation (SSG) is a great way to achieve this. SSG compiles your code down to static html during build time which helps save your users from having to download unnecessary resources, effectively speeding up your site by huge margins. With minimal effort, this site scored a 100 performance score on Lighthouse.

Painless content management
As much as I love writing code, it makes sense to abstract the process of updating code and updating content on the site. This is the reason that Content Management Systems (CMS) exist, and more recently Headless CMS'. A headless CMS allows for you to store your content in a data repository, and integrate your site to fetch data from said repository.
For the purposes of this site, I decided to go with Sanity. Sanity allows you to define your data structure via a JSON schema. This makes for great DX, and fast prototyping.
For example, the data schema for my blog was as easily defined as this:
123456789101112131415161718192021222324252627282930313233343536373839404142export default {type: 'document',name: 'post',title: 'Post',fields: [{type: 'string',name: 'title',title: 'Title',},{type: 'string',name: 'subtitle',title: 'Subtitle',},{type: 'image',name: 'image',title: 'Image',},{title: 'Content',name: 'content',type: 'bodyPortableText',},{type: 'datetime',name: 'date',title: 'Date',},{title: 'Slug',name: 'slug',type: 'slug',options: {source: 'title',slugify: (input: string) => input.toLowerCase().replace(/\s+/g, '-').slice(0, 200),},},],}
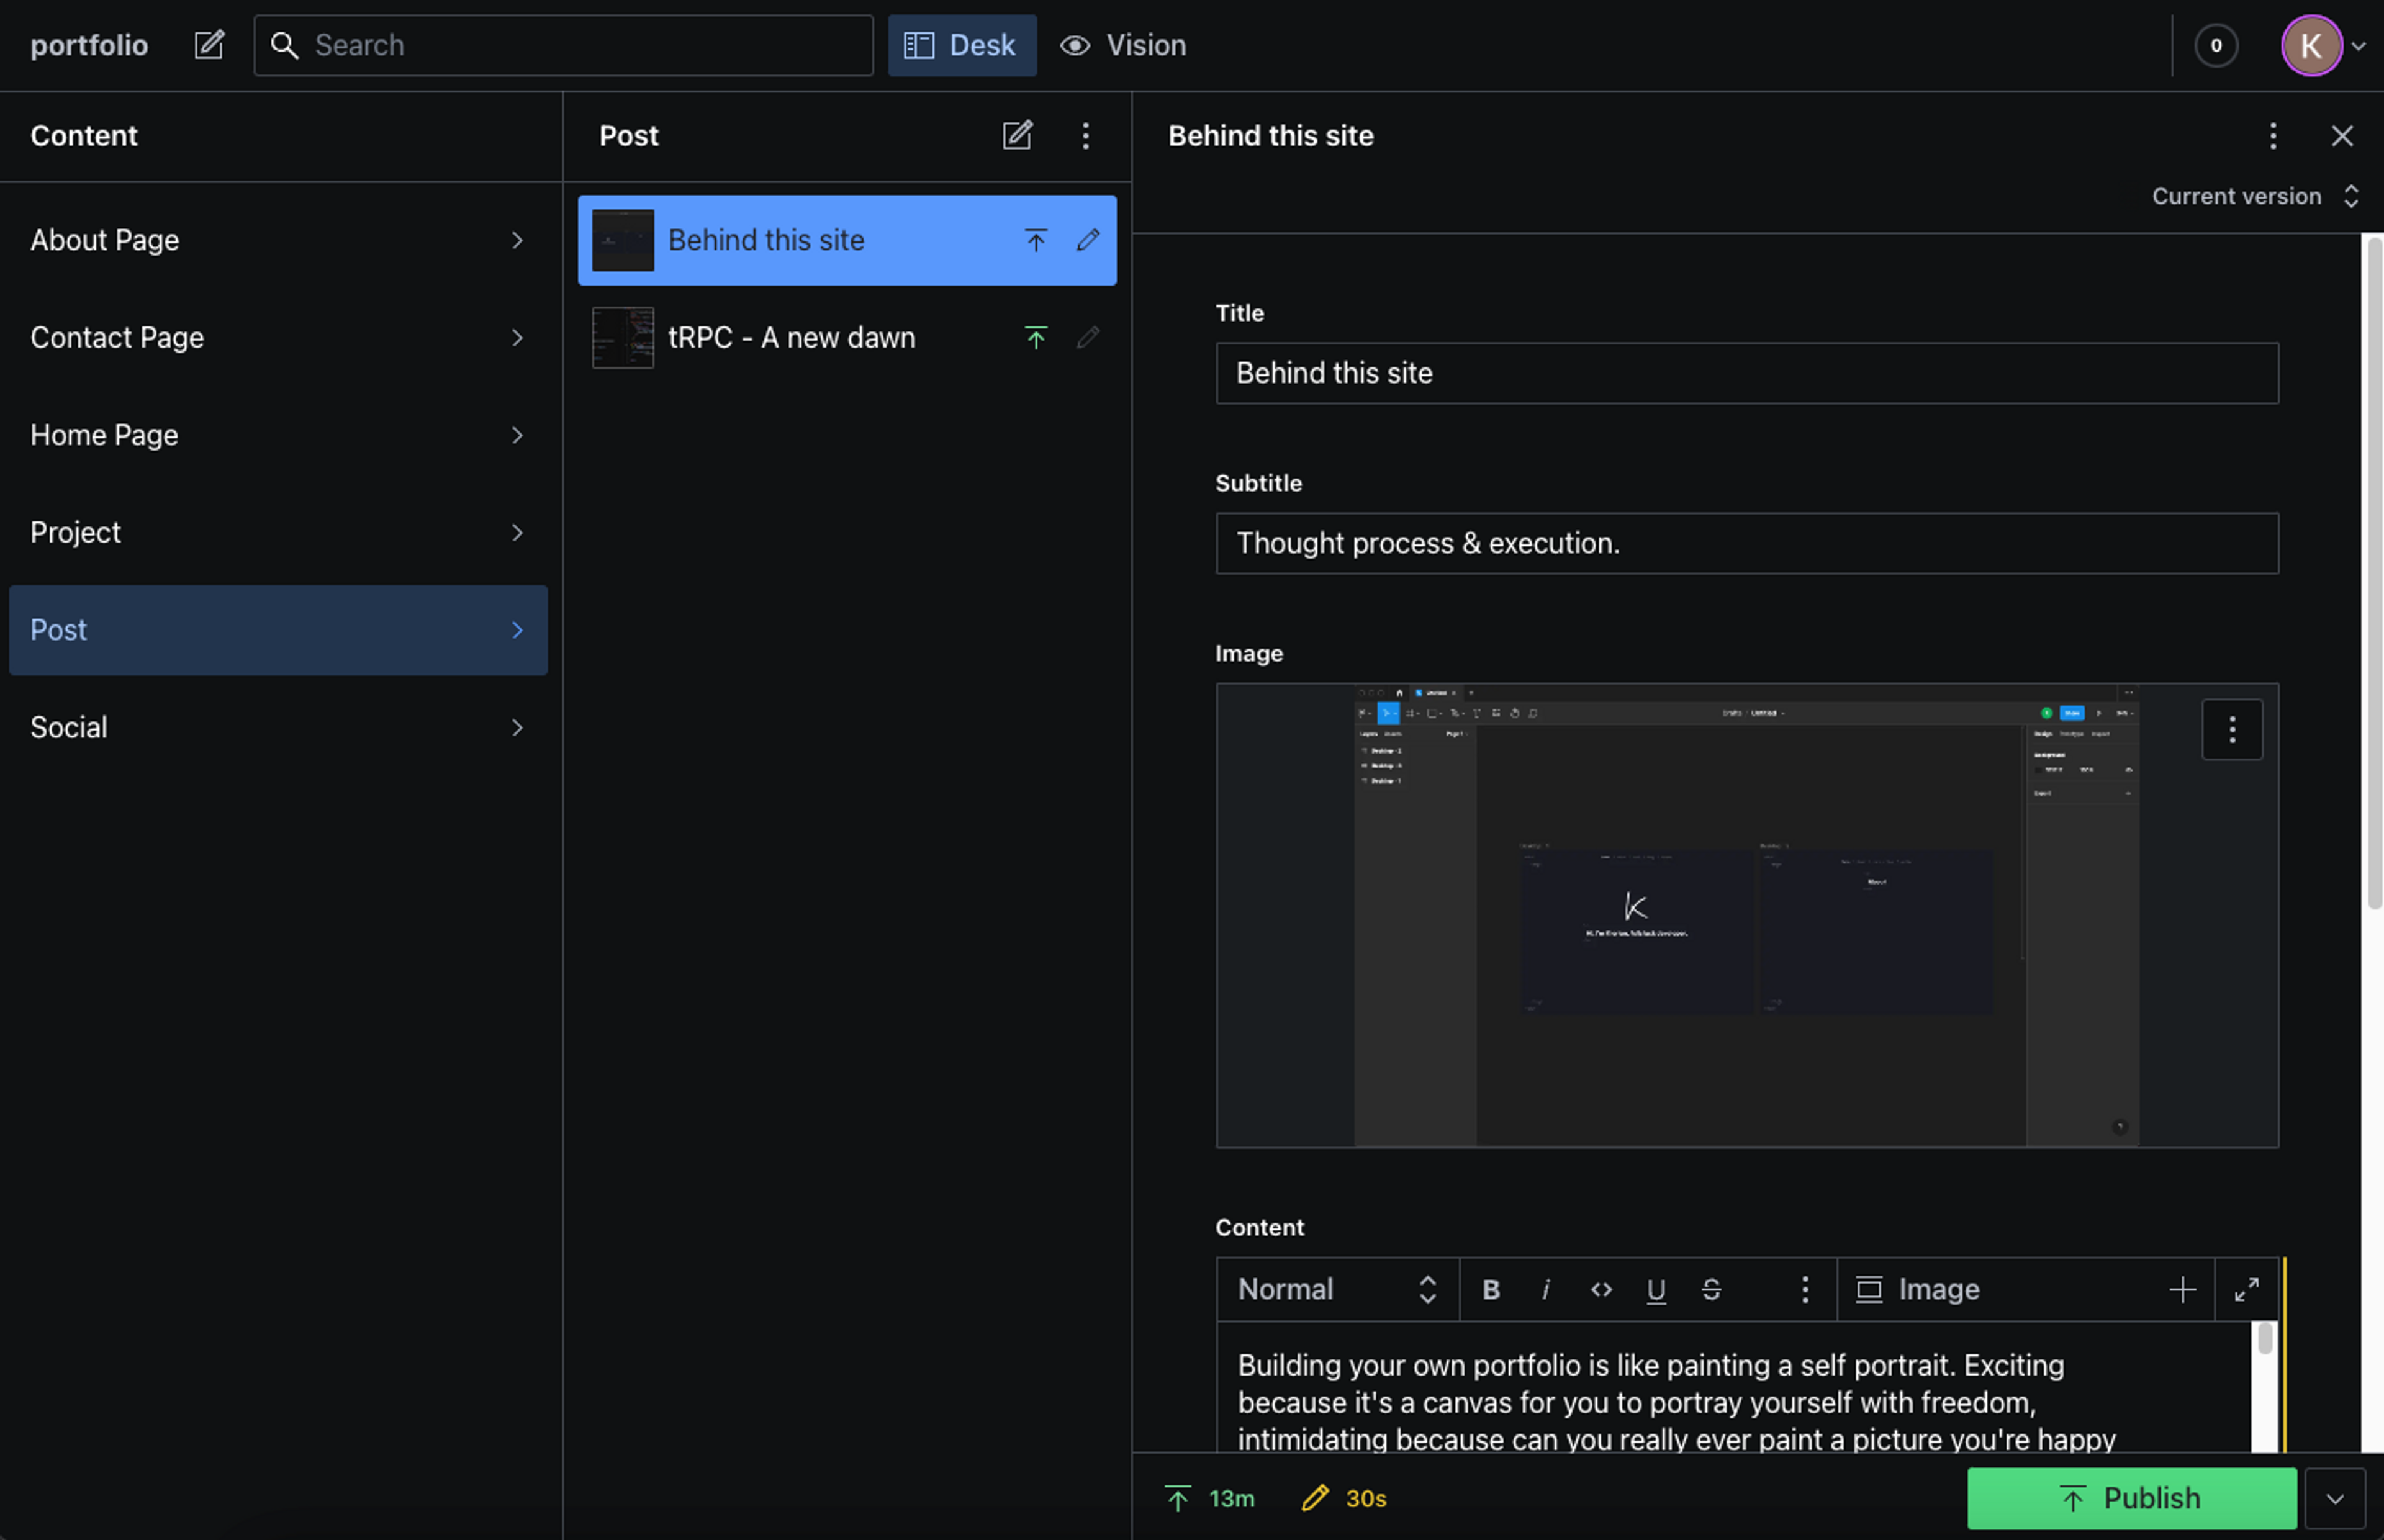
After defining the schema, I'm able to use Sanity Studio to update my content as such:
Final thoughts
I had a lot of fun building the site, hopefully it resonates with its visitors as much as it does with me!